
I received a set of these from a friend when I graduated high school!
I still have them and they are my most favorite
hot pads to use in the kitchen!
I have been looking for the instructions to make them and I finally
found them. I have been working on some this past week and they are a lot of fun to make. They are pretty simple and don't take too long to make.
This could be a fun Christmas gift, birthday gift, wedding gift, graduation gift, or any kind of gift you want it to be. Have fun making it!
Instructions for a Fun Christmas Gift!
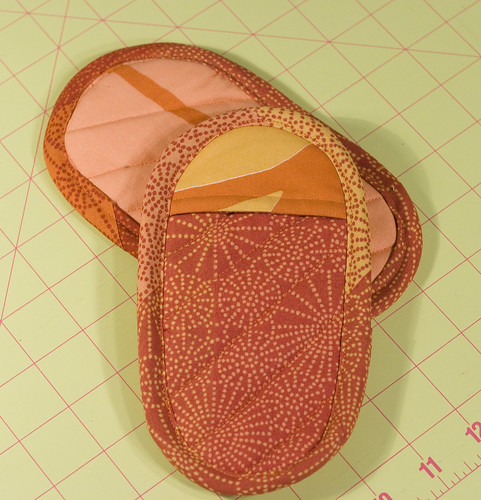
This makes one pair.
Supplies:
Supplies:
- Enough fabric to cut four 4"x7" rectangles and four 4"x 2 1/2" rectangles; half a fat quarter would be more than sufficient
- Cotton batting - about 1/4 yard
- Insul-Bright - enough for two 4"x7" rectangles
- Binding/bias tape - about 1 yard of 1" single fold (or 1/2" double fold)

Instructions
1. For each PAIR of hot pads, you'll want to cut:
2 BODY pieces from Fabric 1
2 BODY pieces from Fabric 2
2 BODY pieces from Insul-Bright
4 BODY pieces from Batting
2 POCKET pieces from Fabric 1
2 POCKET pieces from Fabric 2
2 POCKET pieces from Batting
Here are pictures of the pieces for just one pad.

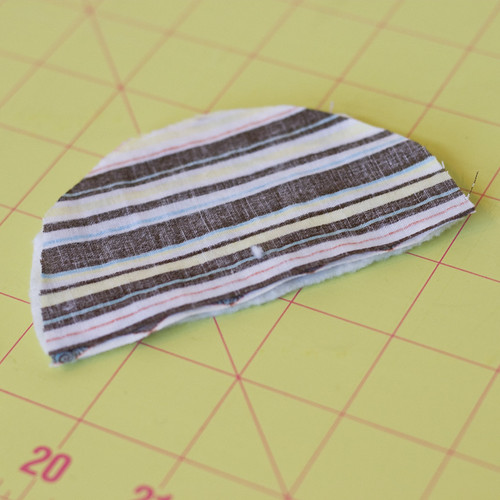
Take one of each of the POCKET pieces. Place the fabric RIGHT sides together. Then take one piece of batting and place on bottom.
Stitch along the straight edge, leaving a 1/4" seam allowance.
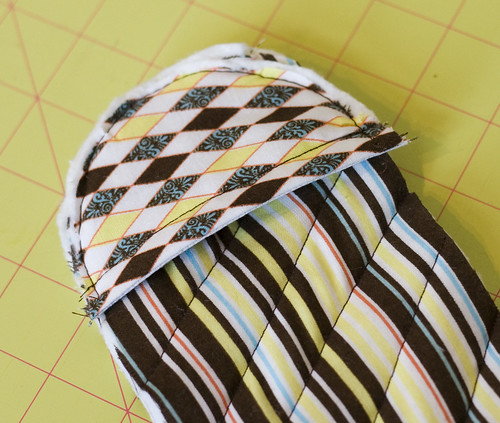
Turn the right sides out, and press.


Make a sandwich of BODY pieces in the following order:
Fabric - right side DOWN
Batting
Insul-Bright
Batting
Fabric - right side UP


Quilt together. You can do this however you prefer - straight lines, criss-cross, swirls, circles, etc. You may want to trim the edges after quilting.
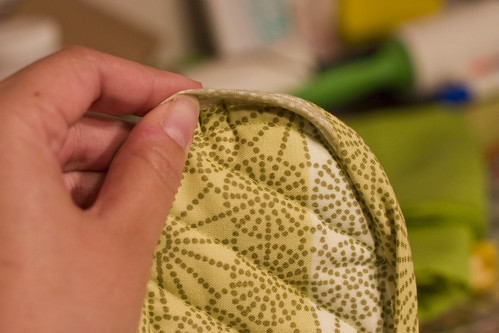
Baste the pocket piece along one end of the body.
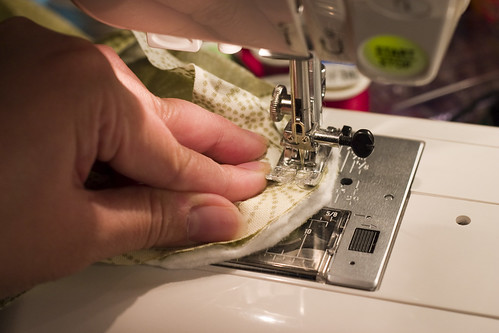
Apply your binding.
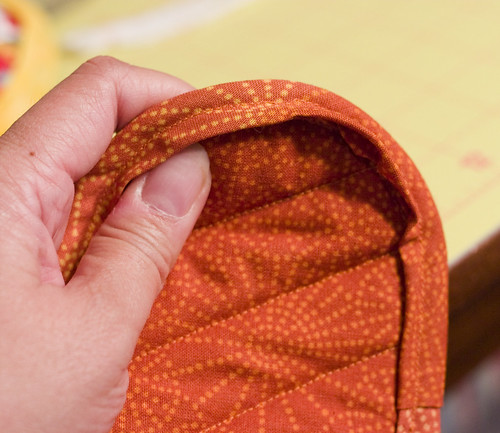
Here it what it looks like after you sew all the way around with the binding unfolded:

The key is, when you're folding the binding over and stitching the second time, you want it to be folded over just enough to catch the back edge, but you don't want it folded so far over that you end up with a flap, like this.
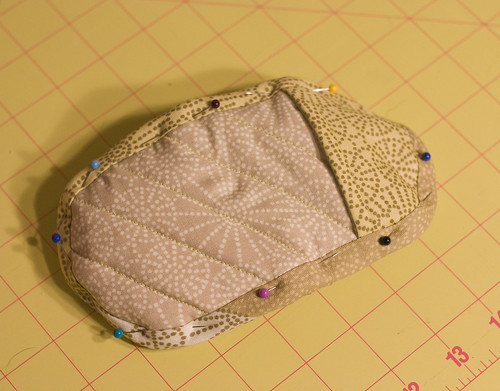
After folding it over, pin it like crazy.
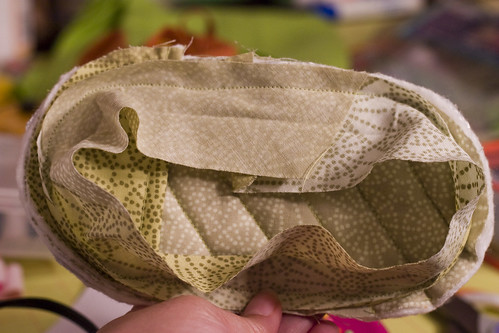
Once that's done, you have hot pads!
From: http://craftyasiangirl.blogspot.com/2009/12/hot-pads-tutorial.html and greatastestuesdays
No comments:
Post a Comment